Danpatbbang (Korean Red Bean Bread, 단팥빵)
Bake 8 soft Korean danpatbbang buns filled with sweet red bean paste. Learn which filling to buy, how to portion and seal it, and follow the shaping steps.
My notes for this recipe
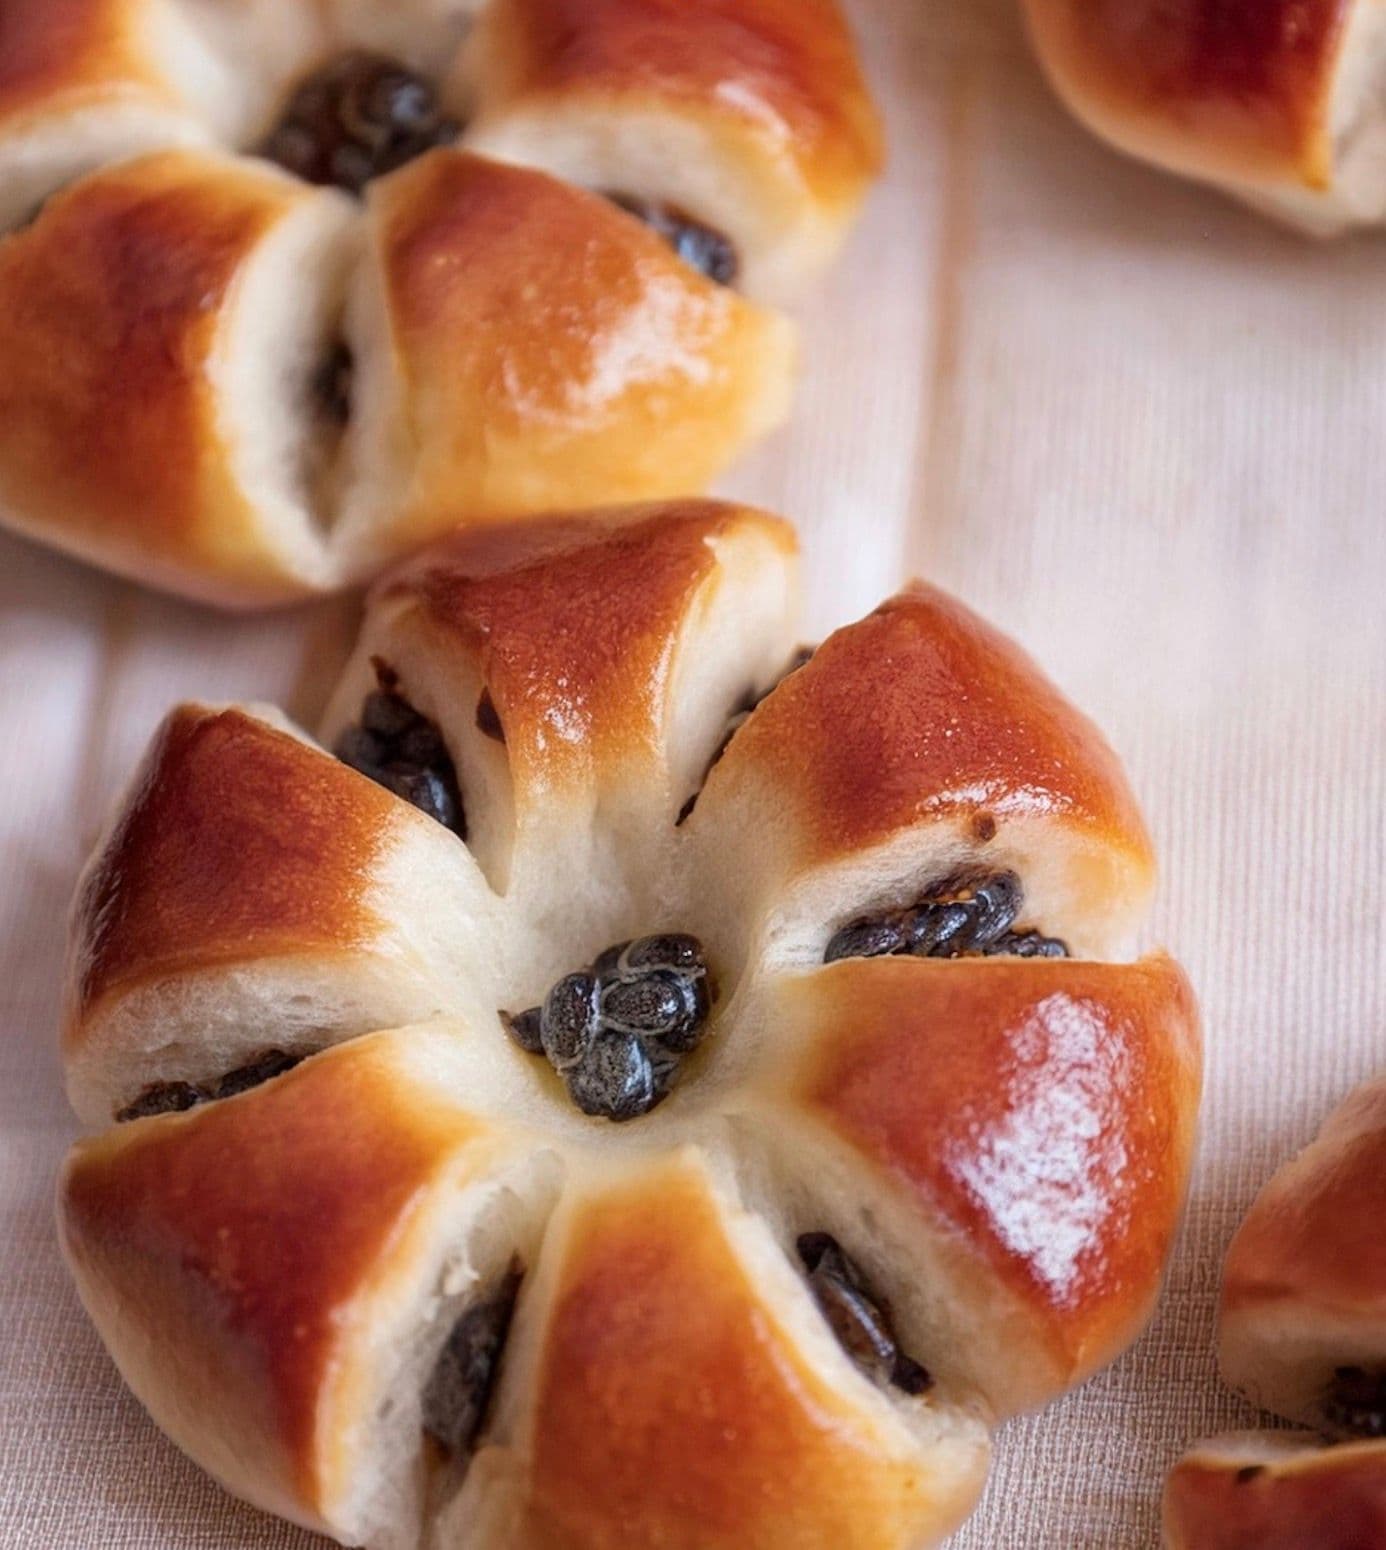
Danpatbbang (단팥빵) is a soft Korean bakery bun filled with sweet red bean paste. This recipe makes 8 buns, with 40 g of filling in each one. Ready-made sweet red bean paste keeps the preparation manageable, and the steps show how to fill and shape the buns before baking.
Which red bean paste should I buy?
Look for sweet red bean paste, also sold as anko, at Korean, Japanese or other East Asian grocery stores and retailers serving your country. Koshi-an is smooth; tsubu-an contains pieces of bean. Choose a sweetened filling that holds its shape when portioned. Dried azuki beans and unsweetened cooked beans need further preparation and cannot be used straight from the packet as this filling.
Portion the filling before shaping
Divide the 320 g of red bean paste into 8 portions of 40 g while the dough rises. Keep the paste in the center when filling each bun, bring the edges of the dough together and seal them well. If filling spreads over the edges, it becomes harder to close the dough cleanly. Follow the shaping step for the decorative cuts rather than cutting all the way through the center.
Flour, rising and egg wash
This dough uses 200 g of Type 550 wheat flour. The ingredient guide explains the label and options to consider where you live. Reserve a little of the egg for the wash as described in the first step. The two rises are part of the total preparation time; a cool room can slow the dough, so use its expansion as well as the timer to judge progress.
Baking and serving
The baking step uses 190°C, approximately 375°F. Let the buns cool slightly before serving: the sweet filling and soft bread go well with tea, coffee or milk. The filling is already prepared, so this recipe does not include making red bean paste from dried beans.
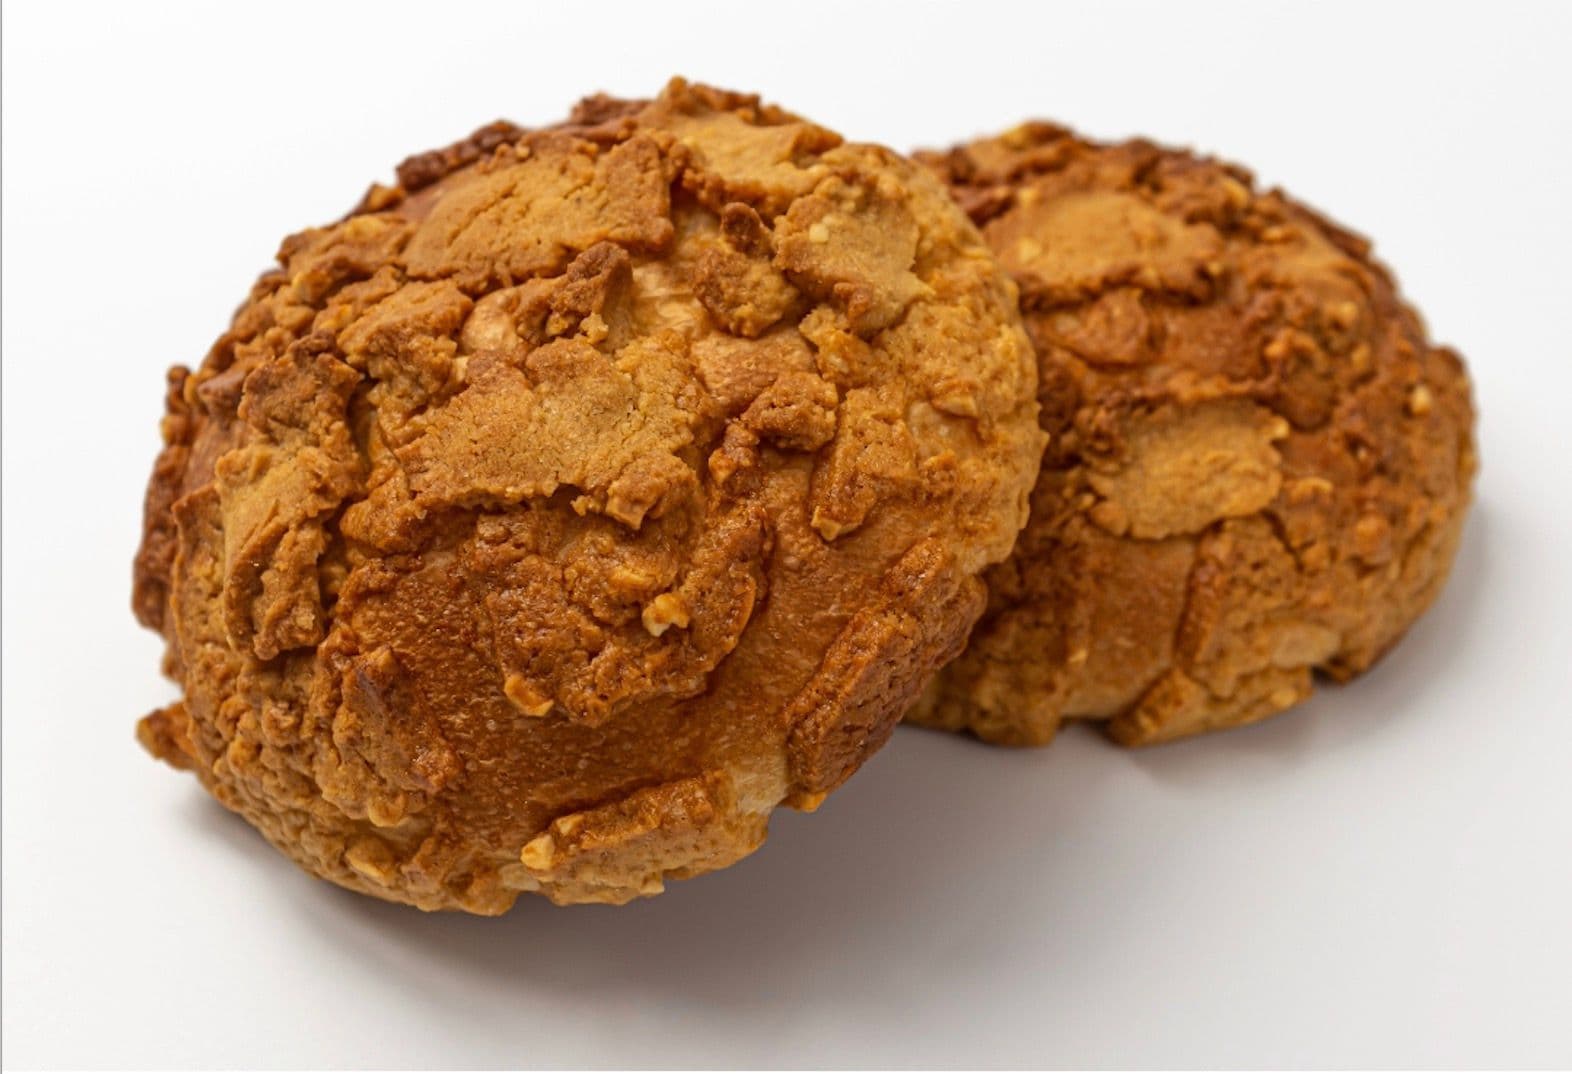
For a Korean bakery bun with a crumbly peanut topping, try soboro bread.
How I cook it
Prepare the dough
Beat the egg and reserve a small amount for the egg wash later. Add the lukewarm milk and the remaining egg to a mixing bowl. Add the flour, sugar, salt, and dry yeast, then knead until a dough begins to form.
Knead in the butter
Once the dough comes together into a ball, add the butter. Continue kneading until the butter is fully incorporated and the dough becomes smooth and elastic.
First rise
Cover the dough and let it rise in a warm place for about 50 minutes. Meanwhile, divide the azuki bean paste into 8 portions of about 40 g each and shape them into balls.
Divide and rest the dough
After the first rise, gently press the dough to release excess air. Divide it into 8 equal pieces and shape them into balls. Cover with plastic wrap or a cloth and let them rest for about 10 minutes.
Fill with red bean paste
Flatten or roll out each piece of dough. Place one 40 g ball of azuki bean paste in the center, bring the edges of the dough together over the filling, and seal well. Shape it into a round bun.
Shape the danpatbbang
Gently flatten each filled bun. Press the center firmly with a rolling pin or similar tool. Using scissors, make six evenly spaced cuts from the outer edge toward the center, without cutting completely through the middle.
Second rise and egg wash
Place the shaped danpatbbang on a baking sheet with some space between them and let them rise for about 45 minutes. Mix the reserved egg with a little water and brush it over the tops. Decorate with walnuts, black sesame seeds, or other nuts if desired.
Bake
Preheat the oven to 190°C. Bake the danpatbbang for about 10 minutes, until the tops are golden brown. Remove from the oven and let them cool slightly. This recipe makes 8 buns.
What to cook next
Share this recipe
Share the link, a short introduction or an image made with the existing recipe photo.
Prepare a Pinterest Pin
Download the image, then paste the title, description and link into the matching fields of a new Pin.
Review the text and choose a suitable board. If the original photo was made or edited with AI, mark it as AI-modified when publishing.